You have a sketch that you’re proud of and want to show off, or maybe even sell. Unfortunately, all you have to capture it is a crappy camera and the lights in your living room. This will show you how to get a great image out of it anyways.
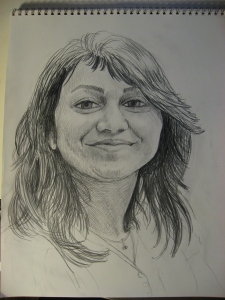 Lighting is tricky when photographing a drawing. Graphite has a natural shine, so flash isn’t an option. Neither is pointing a light directly at the drawing. Your best bet is to position several lights around the image at shallow angles. The glare of the lines will be directed away from the camera, but you will still get a relatively even tone across the image. Worry more about eliminating glare than producing an even tone, because the tone is easy to correct for.
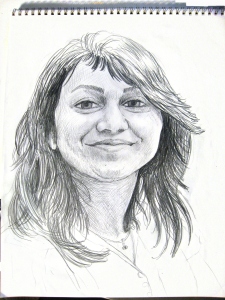
The image I’ve picked to work with has a lot of issues. The paper isn’t evenly lit, and the lights shining on it have different temperatures. It was taken with a tiny point-and-shoot camera. Nevertheless, with only a few steps, we’ll get a workable image out of it. Our strategy is to produce an image that contains only the tone of the paper using a few filters for shortcuts, and little elbow grease. Then, we’ll use layer modes to remove the effect of the paper tone from the image.
First, find the darkest region of bare paper on the image, and use the eyedropper to get its color. Remember the average value of the three color channels. In this image, the darkest bare paper has a value of about 110. We’re going to use this value to try to remove all of the lines from the image.
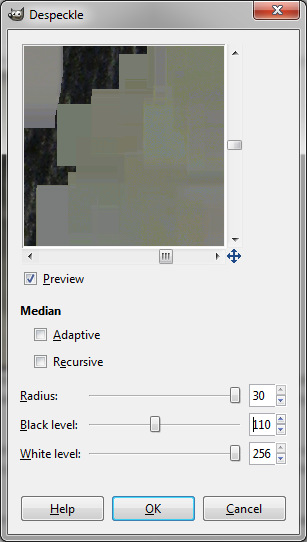
Duplicate the image on a new layer. Then open run Filters > Enhance > Despeckle using the following settings. Turn off “Adaptive.” Turn off “Recursive.” Set the radius as high as it will go. Set Black level to the value of the darkest bare paper (in this case 110), and White level to 256.
What we’re doing here is asking Gimp to look at every 30×30 region, and find the median of all the pixels that are brighter than 110 and dimmer than 256. Since we determined that the dimmest area of bare paper is 110, by specifying this range we are getting the full range of the paper tone, but as little as possible of the lines in the drawing, and hopefully, getting just the color of the paper out of the filter over most of the image.
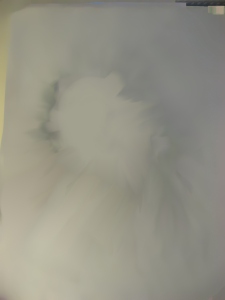
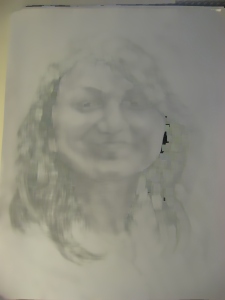 It worked for some of the image, but not all of it. In some regions of the hair you can see that there weren’t any pixels that met the range constraints of 110 to 256, so it left the image alone. You can still see the shadow of the original drawing in areas that were particularly dark. We can get a little further by running it again.
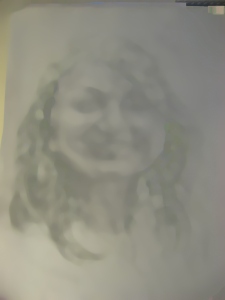 From here we have to clean up manually. I do this using the smudge tool and paintbrush to pull the color in from the regions I trust into the regions that have been tainted by the drawing. I recommend duplicating the layer before doing this.
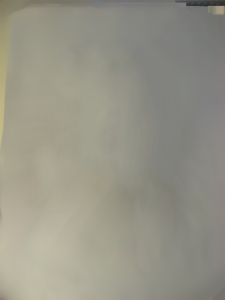 This final image should be our best guess at what the paper would look like without a drawing. Keep referring to the original drawing as you tweak it. Once you’re satisfied that it looks like a blank version of the original drawing, set the mode of the layer to “Divide.”
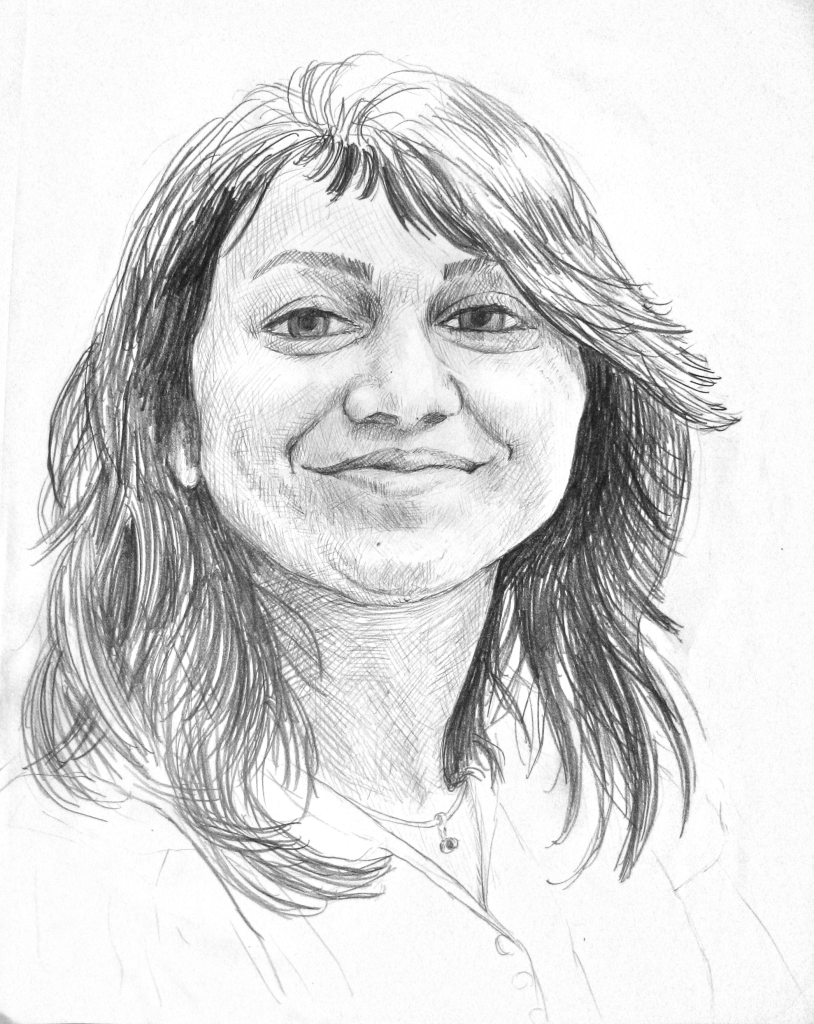
Why does this work? Physics tells us that the color of the light multiplies with the color of the surface (the albedo) to produce the color that we see. The areas of blank paper show us the color of the light since the paper itself is white. To recover the original drawing, all we have to do is invert that multiplication (divide) to recover the color of the surface. After a removing any remaining hue and cropping, we’ve got an image we can work with.


This is really cool! 🙂 Thanks for writing this down.
Gotta tell you I”m impressed! I would probably have done much the same thing in Photoshop but I never could have explained it the way you did. And the drawing looks great!!
Thank you, i will try this.
Brilliant effect that does the job..had to read it a few times to figure it out but got it in the end
Reblogged this on .
Doesn’t actually work, just creates a two-layer image that looks exactly like the original image except with a lot of extra work. I’ve ran through this “tutorial” three times, and have yet to get an image that was cleaned up.
Try adjusting the levels on the “paper color” layer. Sometimes it comes out too bright.